Music & Performance3 min read
Frame the performer and instrument clearly while placing microphones for the sound. The best camera location and best microphone location are often different.
Read guide ↗ Music & Performance3 min read
Work with the venue's light, protect important highlights, and test under performance conditions. Phones cannot recover every dark area or clipped stage light afterward.
Read guide ↗ Music & Performance3 min read
Build a simple visual concept and record consistent performances with complementary coverage. Match the production to the locations, people, and rights you can actually manage.
Read guide ↗ Music & Performance3 min read
Show the whole player and add a view of the technique you want to explain. Keep mounts and microphones outside stick paths and vibration-prone surfaces.
Read guide ↗ Music & Performance3 min read
Give each angle a role: deck technique, performer expression, or atmosphere. Check recording permission, music rights, and audio routing before planning release.
Read guide ↗ Music & Performance3 min read
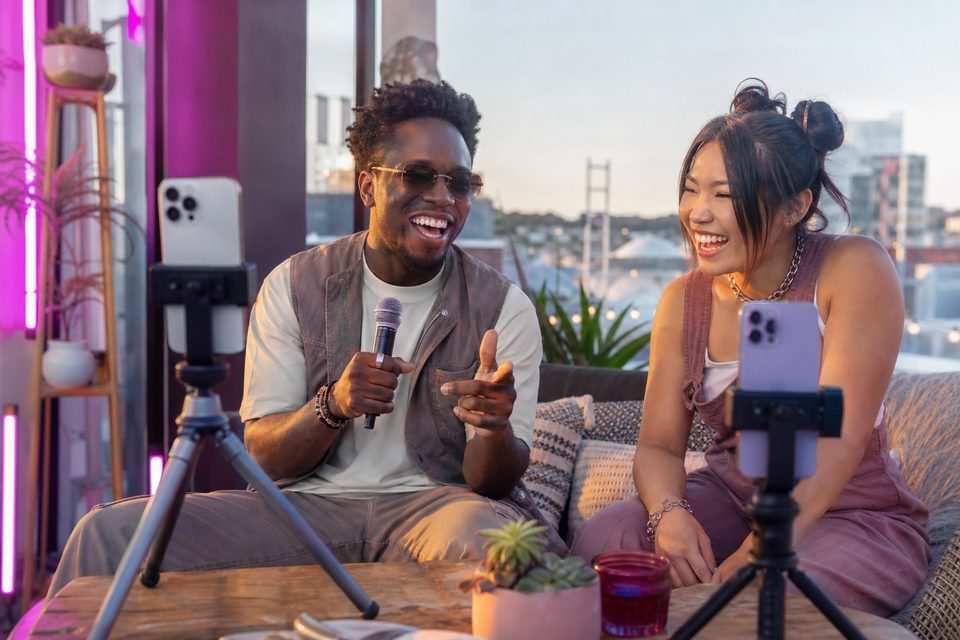
Position the microphone for a clear vocal and the camera for an expressive view. A pop filter helps with breath blasts, but it should not dictate an uncomfortable performance posture.
Read guide ↗ Music & Performance3 min read
Long live sets require permission, reliable sound, power, storage, and a recovery plan. A successful short test does not establish endurance for the entire event.
Read guide ↗ Music & Performance3 min read
Use musical phrasing and meaningful visual changes to guide cuts. Cutting on every beat can become repetitive and hide the performance's natural build.
Read guide ↗ Fitness, Dance & Movement3 min read
Choose angles that reveal different parts of a movement, such as front alignment and side position. Keep the complete movement visible and avoid presenting camera footage as a diagnosis.
Read guide ↗ Fitness, Dance & Movement3 min read
Keep a full-body safety view throughout the routine and add detail coverage only where it clarifies expression or technique. Rehearse the largest movement before recording.
Read guide ↗ Fitness, Dance & Movement3 min read
Choose the clearest safe movement area first, then fit cameras around it. Two useful views are better than extra equipment crowding the exercise space.
Read guide ↗ Fitness, Dance & Movement3 min read
Add light and use suitable supported capture settings to reduce blur. Frame rate and shutter exposure affect different aspects of motion, so more frames alone do not guarantee sharp movement.
Read guide ↗